DIY Fence Installation: Tips and Tricks from the Pros


Planning Your DIY Fence Installation
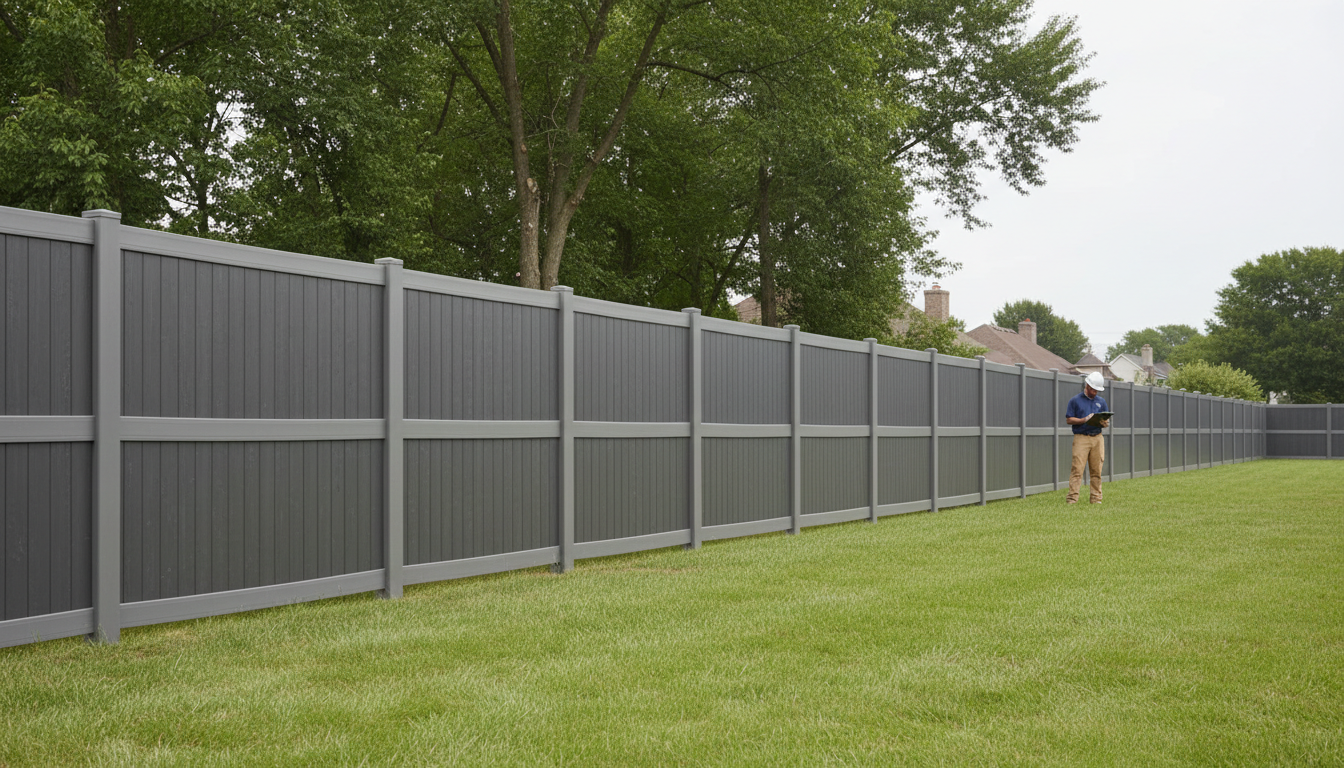
Installing a fence can be a rewarding DIY project that enhances your property's privacy and aesthetic appeal. The first step is to plan thoroughly. Consider the purpose of your fence: Is it for privacy, security, or decoration? This will influence the materials and design you choose.
Start by measuring the area where you want to install the fence. Use stakes and string to outline the perimeter and ensure everything is straight and square. Check local building codes and neighborhood regulations to ensure compliance with height and material restrictions.
Selecting the Right Materials
Choosing the right materials is crucial for a successful fence installation. Common options include wood, vinyl, and metal. Each material has its own advantages and disadvantages. For instance, wood offers a classic look but requires regular maintenance, whereas vinyl is low-maintenance but may come at a higher initial cost.
Consider the climate in your area as well. Certain materials may be more resistant to weather conditions than others. Research and compare materials to find the best fit for your needs and budget.
Preparing the Ground
Proper ground preparation is essential for a sturdy fence. Begin by marking the location of each post with spray paint. Posts should typically be spaced 6 to 8 feet apart. Once marked, dig holes using a post hole digger. Ensure the depth of each hole is about one-third the height of the post to provide stability.
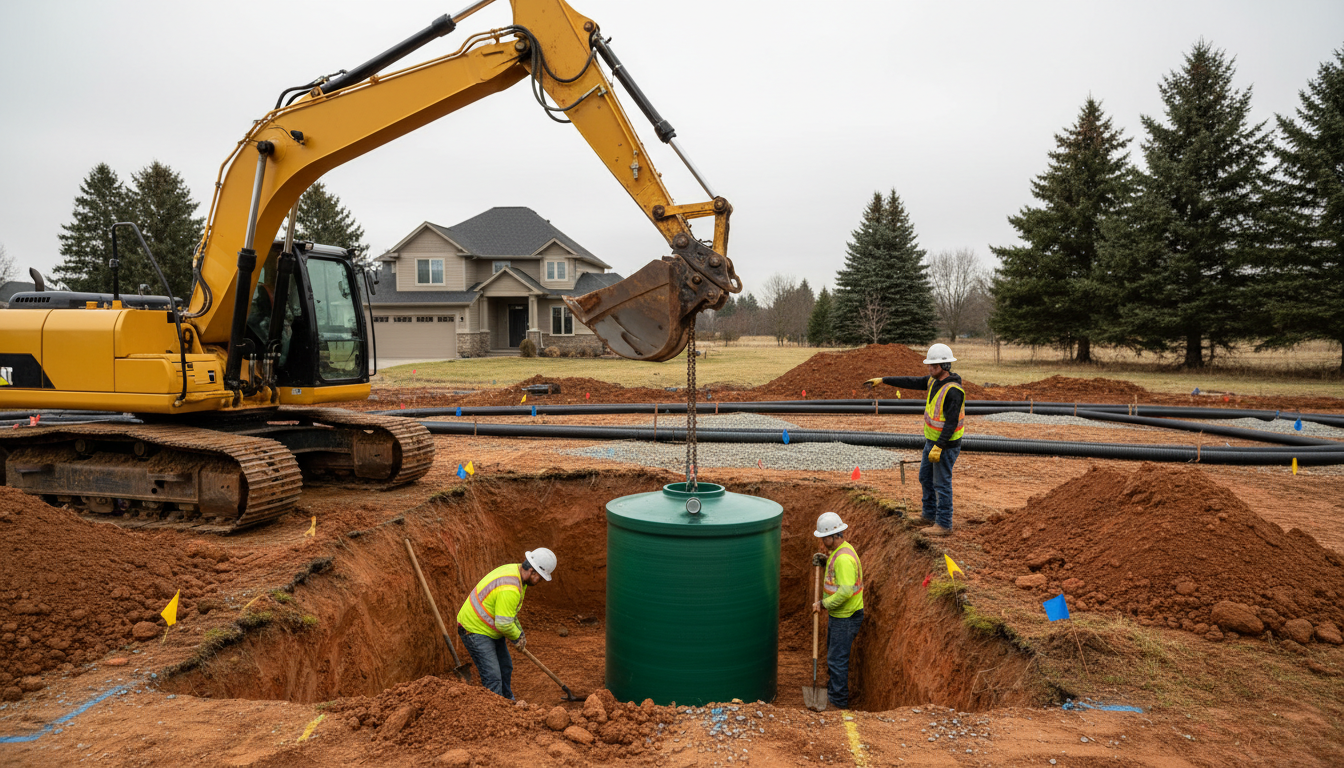
Before placing the posts, add gravel at the bottom of each hole for drainage. This prevents water from accumulating, which can lead to rot or rust over time.
Setting the Posts
Setting the posts correctly is a critical step. Use a level to ensure each post is plumb before securing it in place. Pour concrete into the hole around the post, allowing it to set according to the manufacturer's instructions. This usually takes about 24 hours.
While the concrete sets, brace the posts using temporary supports to maintain their alignment. Once the concrete has cured, you can remove these supports.
Attaching Fence Panels
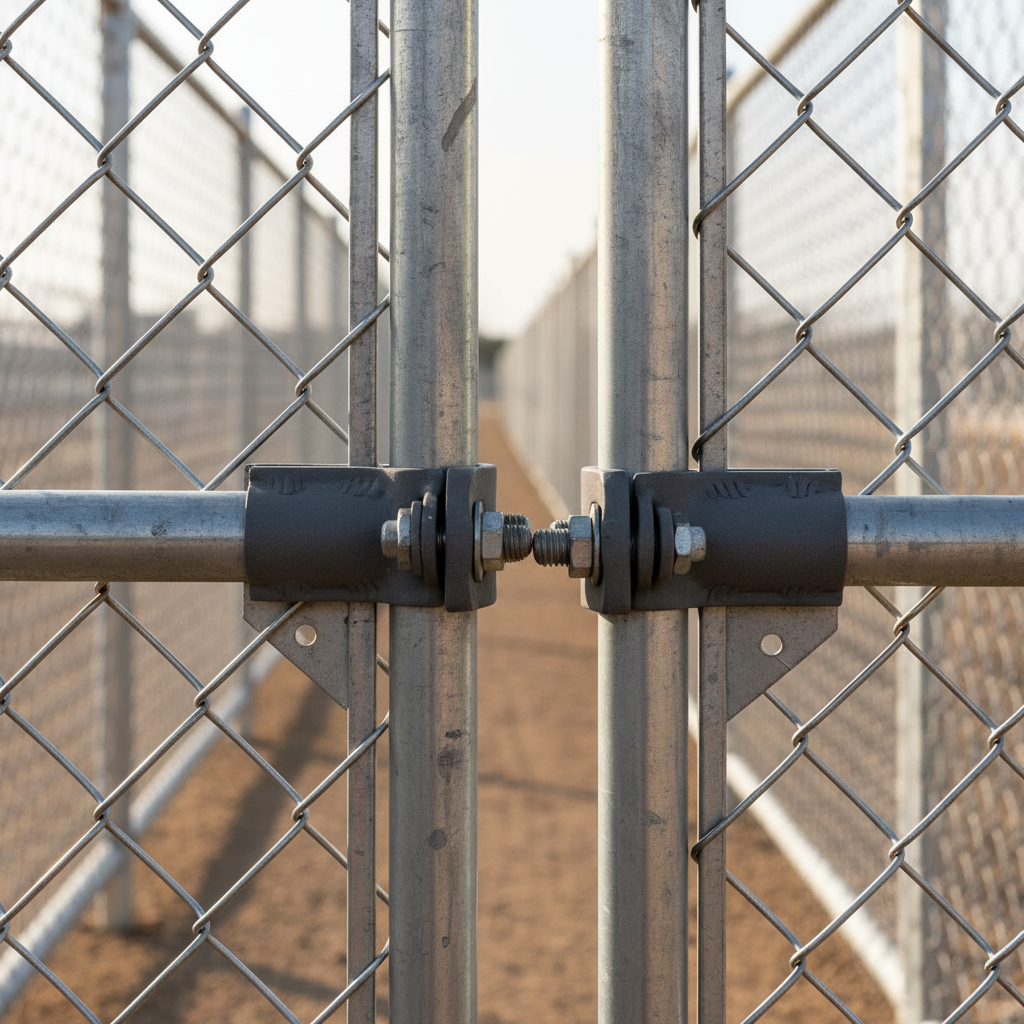
After the posts are secure, it's time to attach the fence panels. Begin at one end, attaching panels to the posts using screws or brackets. Ensure each panel is level before securing it fully. This step is where your planning and measurements pay off, ensuring a seamless look.
Finishing Touches
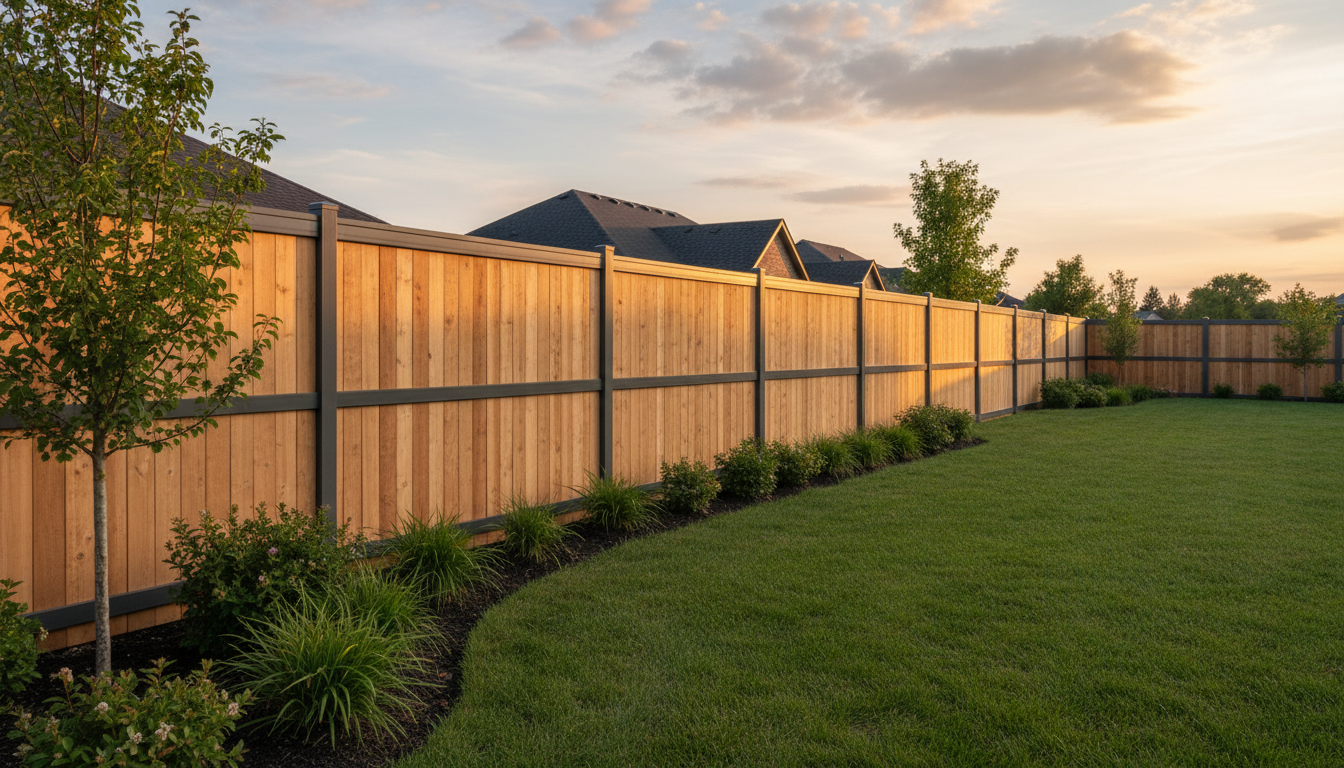
Once the panels are in place, add any finishing touches to your fence. This could include painting or staining wooden fences to protect them from the elements. For metal fences, apply a weather-resistant sealant to prevent rust.
Finally, inspect your fence for any gaps or loose components. Make any necessary adjustments to ensure your fence is both functional and visually appealing.
Maintenance Tips
Regular maintenance will extend the life of your fence. For wooden fences, reapply stain or sealant every few years. For metal fences, check for rust spots and repaint as needed. Vinyl fences may require occasional washing to remove dirt and grime.
By following these tips and tricks from the pros, your DIY fence installation will not only be successful but also add lasting value to your property.