DIY Guide: Installing a Residential Fence in New Orleans


Understanding Local Regulations
Before diving into your DIY fence project in New Orleans, it's crucial to understand local regulations. The city has specific zoning laws and building codes that dictate where and how you can install a fence. Visiting the New Orleans City Planning Commission website or contacting local authorities can provide the necessary guidelines.
Additionally, it's important to check with your homeowner's association if applicable. They might have specific rules regarding the height, material, or style of fences in your neighborhood.

Choosing the Right Materials
When selecting materials for your fence, consider both aesthetics and functionality. Popular choices include wood, vinyl, and metal. Each material has its pros and cons. For instance, wood offers a classic look but requires regular maintenance, while vinyl is low-maintenance but can be more expensive.
It's also wise to consider the climate of New Orleans. The humid, subtropical weather can affect the longevity of certain materials, so choose one that can withstand these conditions.
Planning Your Fence Layout
Proper planning is vital for a successful fence installation. Start by marking your property lines to avoid any disputes with neighbors. Use stakes and string to outline where the fence will go, ensuring a straight and even placement.
Consider the purpose of your fence. Are you looking to enhance privacy, improve security, or simply add curb appeal? This will influence the height and style of the fence you choose.
Gathering Tools and Materials
Make a list of the tools and materials you'll need for the installation. Common tools include a post-hole digger, level, tape measure, and saw. For materials, you'll need fence panels, posts, concrete, and nails or screws, depending on your choice of material.
Having all your tools and materials ready before you begin will make the process more efficient and help you avoid unnecessary delays.
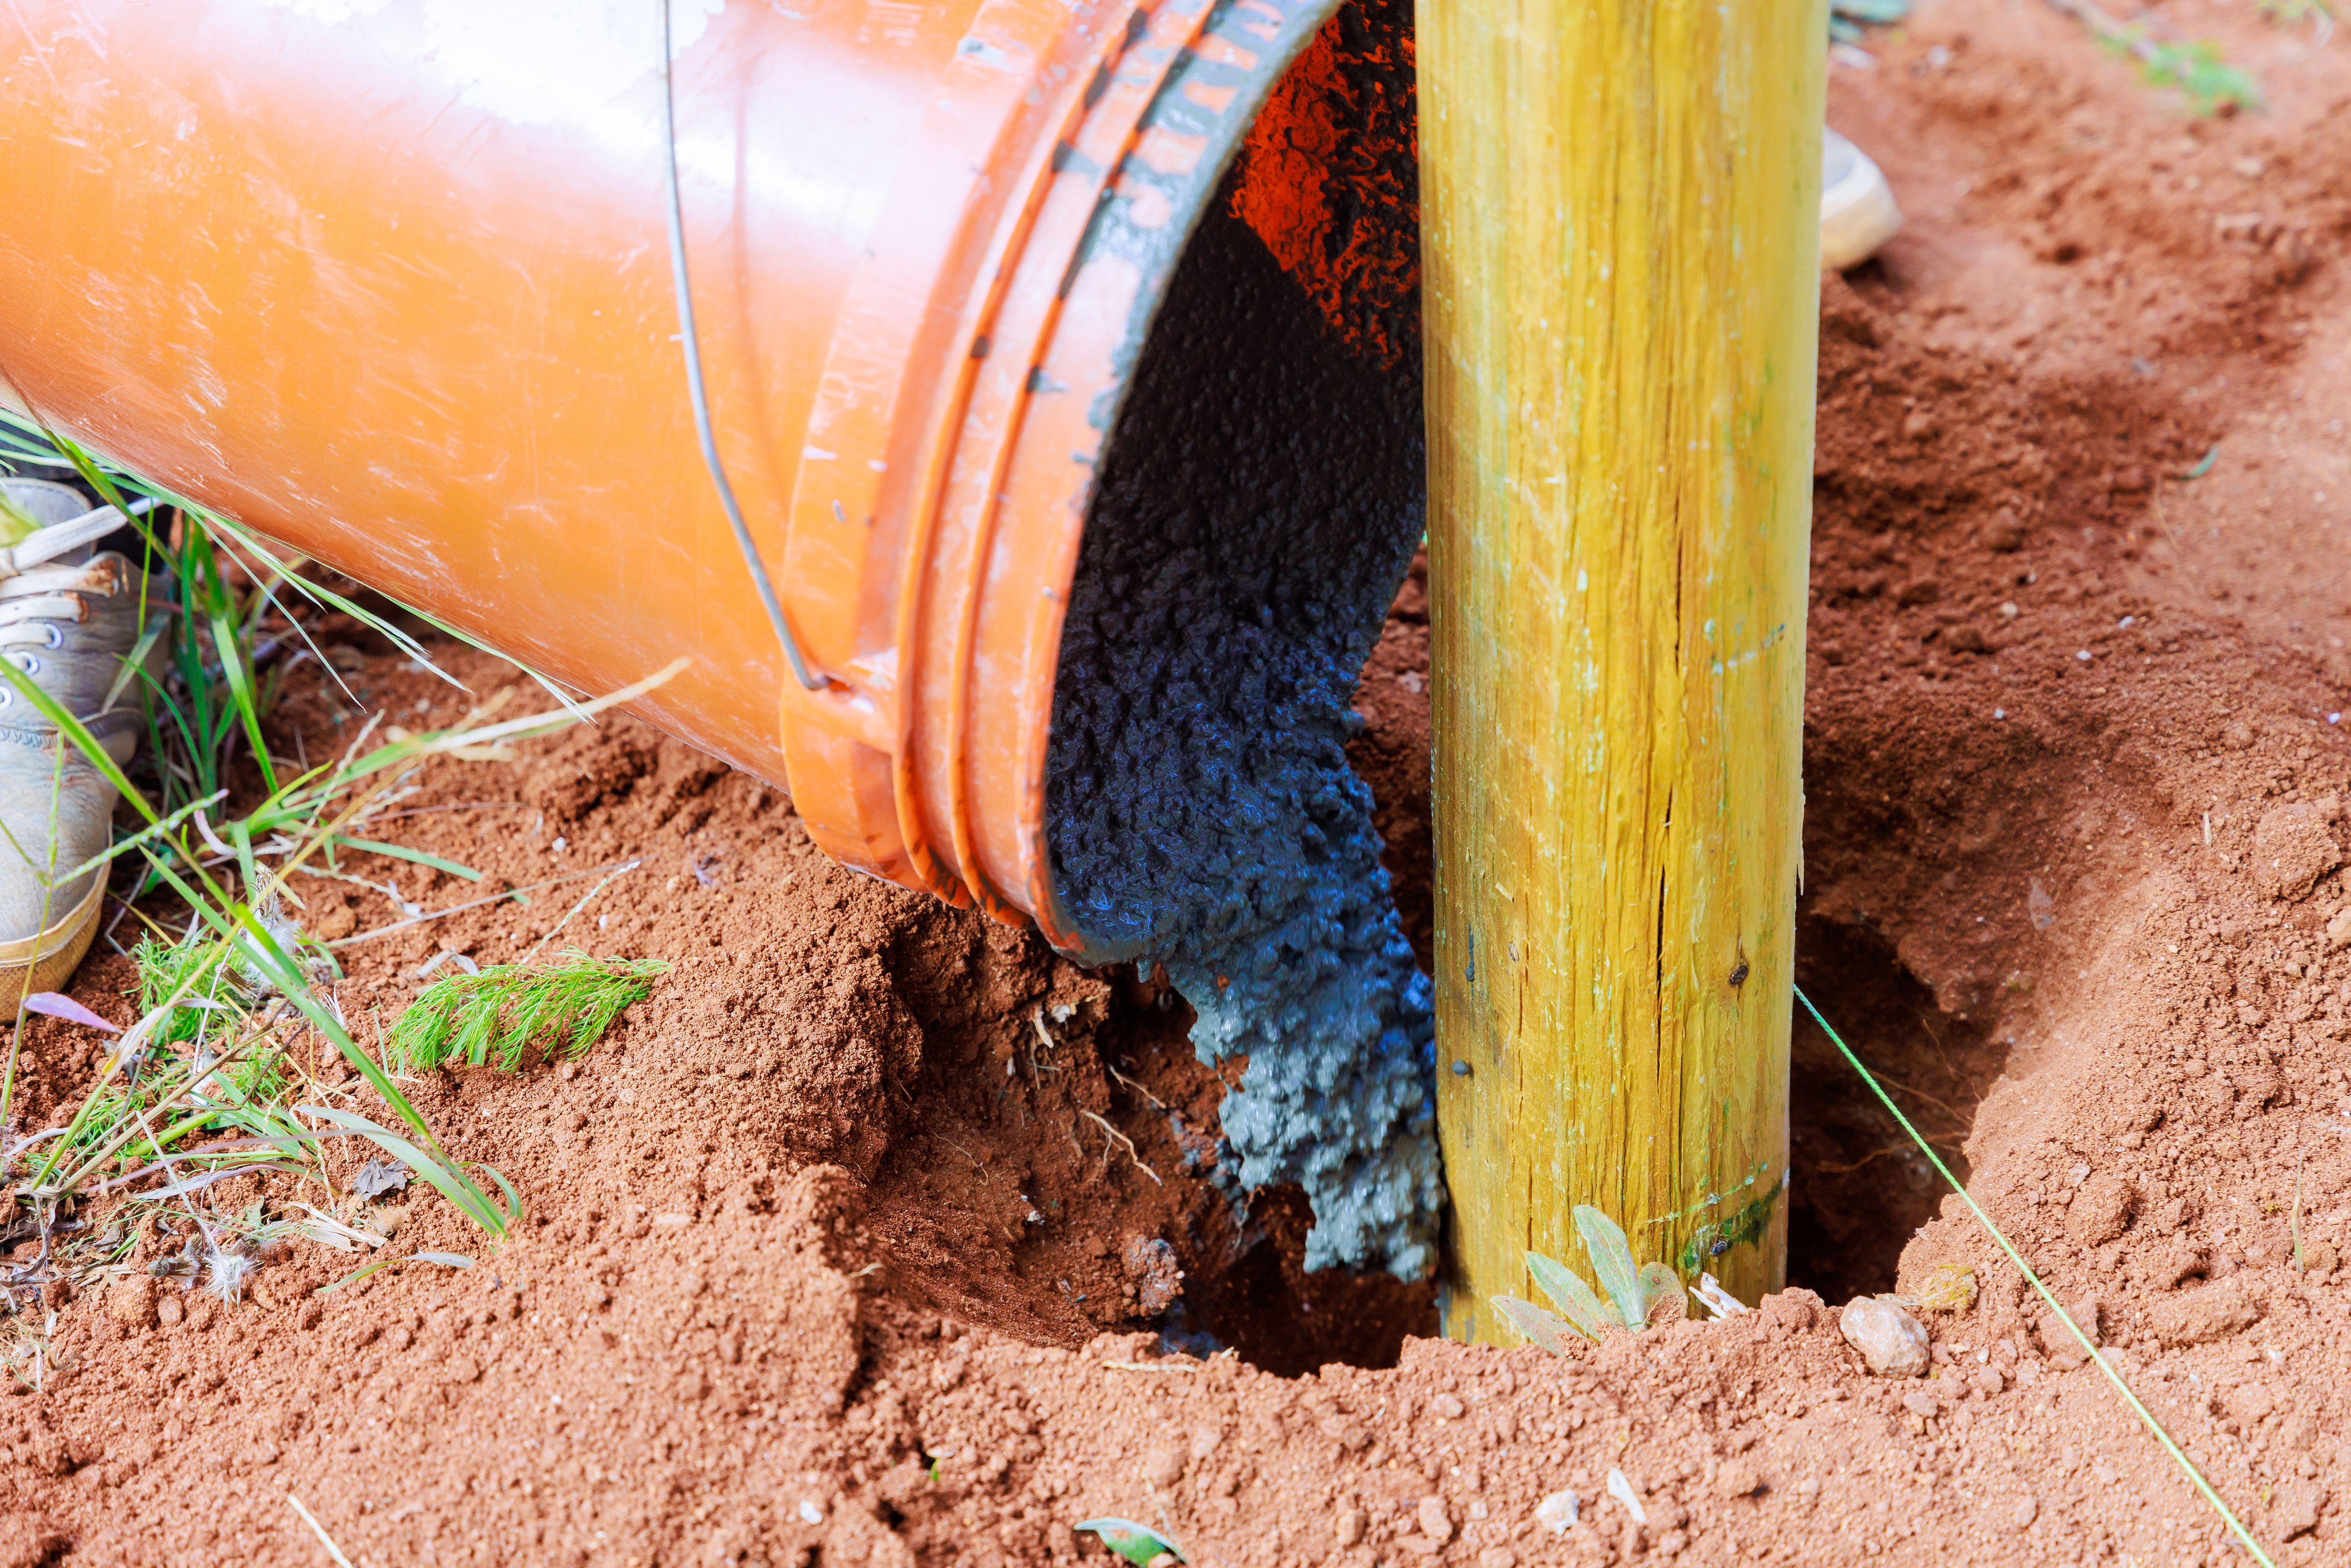
Installing the Fence Posts
Start by digging holes for your fence posts, typically about one-third of the post's length. This ensures stability. Mix and pour concrete into each hole, setting the posts in place. Use a level to ensure they're perfectly vertical.
Allow the concrete to cure for at least 24 hours before proceeding. This step is crucial in ensuring the long-term stability of your fence.
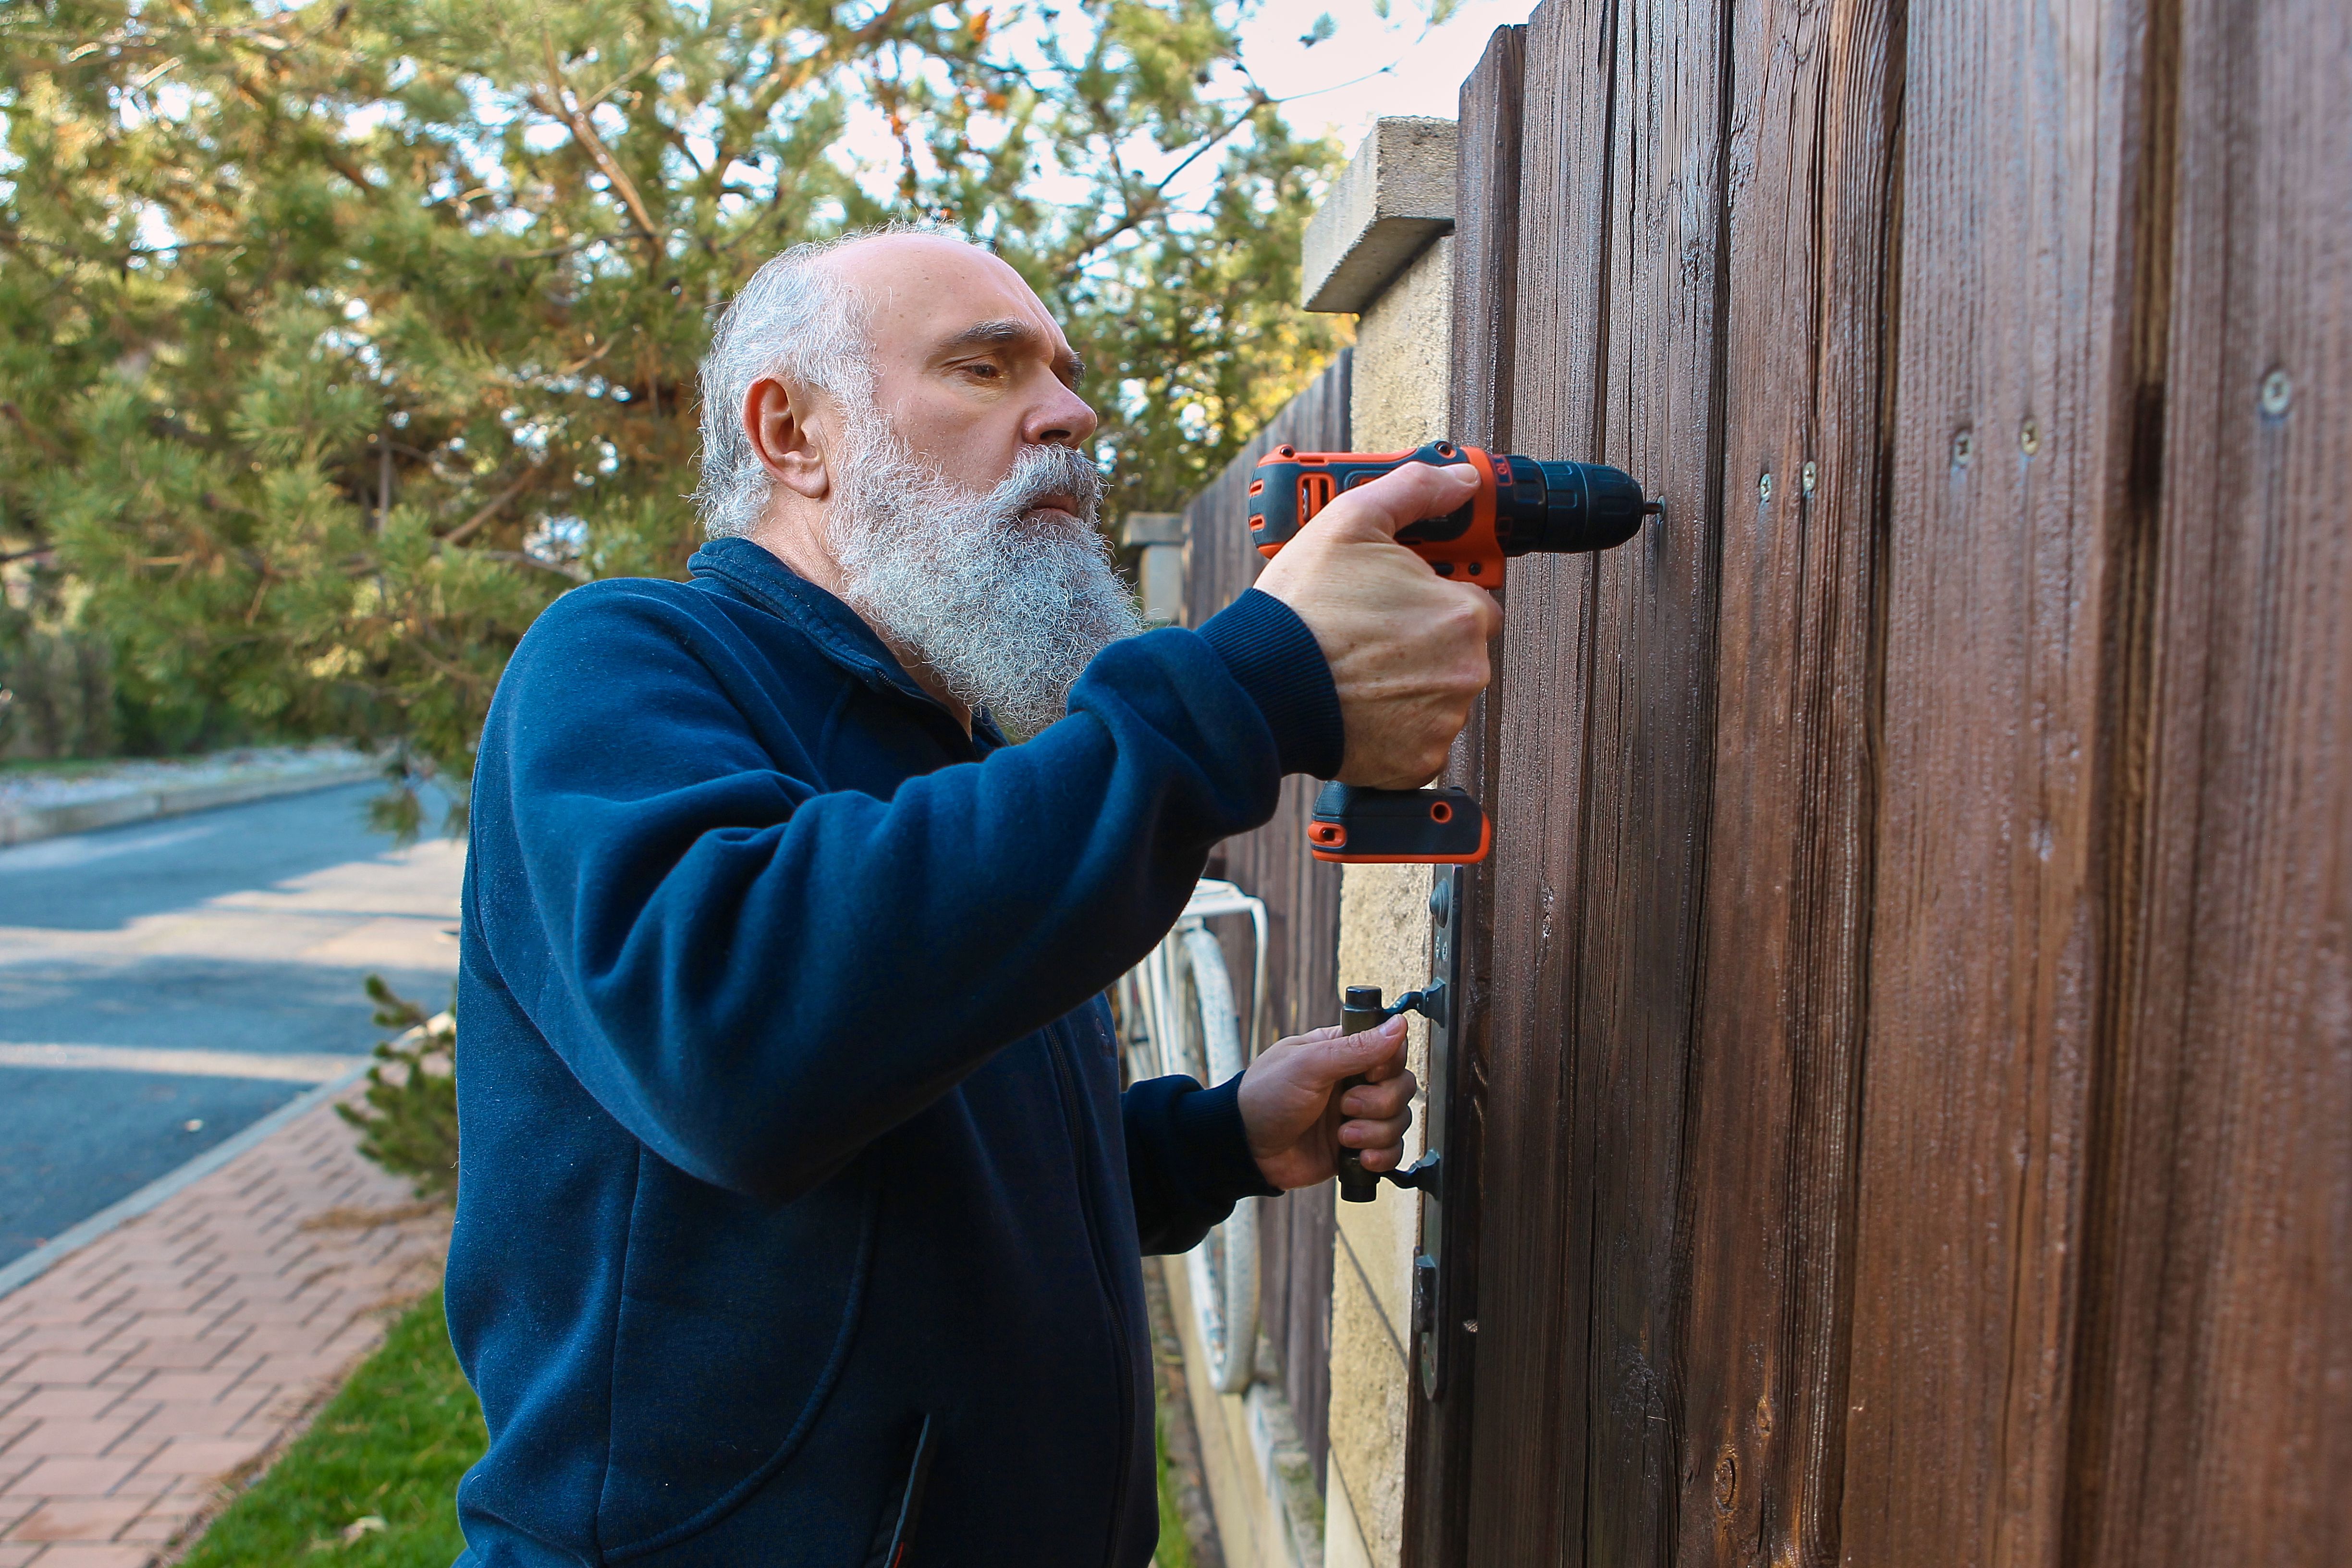
Attaching Fence Panels
Once the posts are secure, it's time to attach the fence panels. Begin at one end and work your way to the other, securing each panel with screws or nails. Check alignment regularly to maintain a neat and professional appearance.
If you're working with wood, consider applying a sealant or stain to protect against moisture and pests, extending the life of your fence.
Final Touches and Maintenance
After installation, walk along the fence line to check for any loose panels or uneven sections. Make necessary adjustments to ensure everything is secure and visually appealing.
Regular maintenance is key to preserving your fence. Inspect it periodically for signs of wear or damage, and address issues promptly. Routine cleaning will also help maintain its appearance.

Enjoying Your New Fence
With your new fence in place, you can enjoy enhanced privacy and security while adding value to your property. Whether it's hosting a backyard barbecue or simply relaxing in your outdoor space, your fence is a valuable addition to your home.
For further customization, consider adding decorative elements such as climbing plants or lighting to enhance the overall look and feel of your fence.