Top Fencing Installation Tips for Homeowners in Bay Saint Louis


Planning Your Fencing Project
Before starting your fencing installation in Bay Saint Louis, it's crucial to have a well-thought-out plan. Begin by determining the purpose of your fence. Is it for privacy, security, or aesthetic appeal? Knowing this will help you choose the right type of fencing material and design.

Next, measure the area where you plan to install the fence. Accurate measurements ensure you purchase the right amount of materials and avoid unnecessary expenses. Consider the landscape and any potential obstacles like trees or slopes that might affect installation.
Choosing the Right Materials
The choice of fencing material is vital to the success of your project. Popular options include wood, vinyl, aluminum, and chain-link. Each material has its advantages and drawbacks. Wood offers a classic look but requires regular maintenance. Vinyl is durable and low-maintenance, while aluminum is strong and resistant to rust. Chain-link is affordable and effective for security purposes.
Take into account the climate in Bay Saint Louis when selecting materials. For instance, wood may warp in humid conditions, while metal options might be more suitable for areas prone to moisture.
Obtaining Necessary Permits
Before breaking ground on your fencing project, check with local authorities to see if you need any permits. In Bay Saint Louis, there may be specific zoning regulations and height restrictions that you'll need to comply with.
Failing to obtain the necessary permits can lead to fines or even the removal of your newly installed fence. It's always better to be safe and inquire about regulations before starting the installation process.
Preparing Your Yard
Once your materials are selected and permits are in place, it's time to prepare your yard. Clear the area of any debris, rocks, or vegetation that might impede the installation process. This will not only make the job easier but also ensure your fence is installed securely.
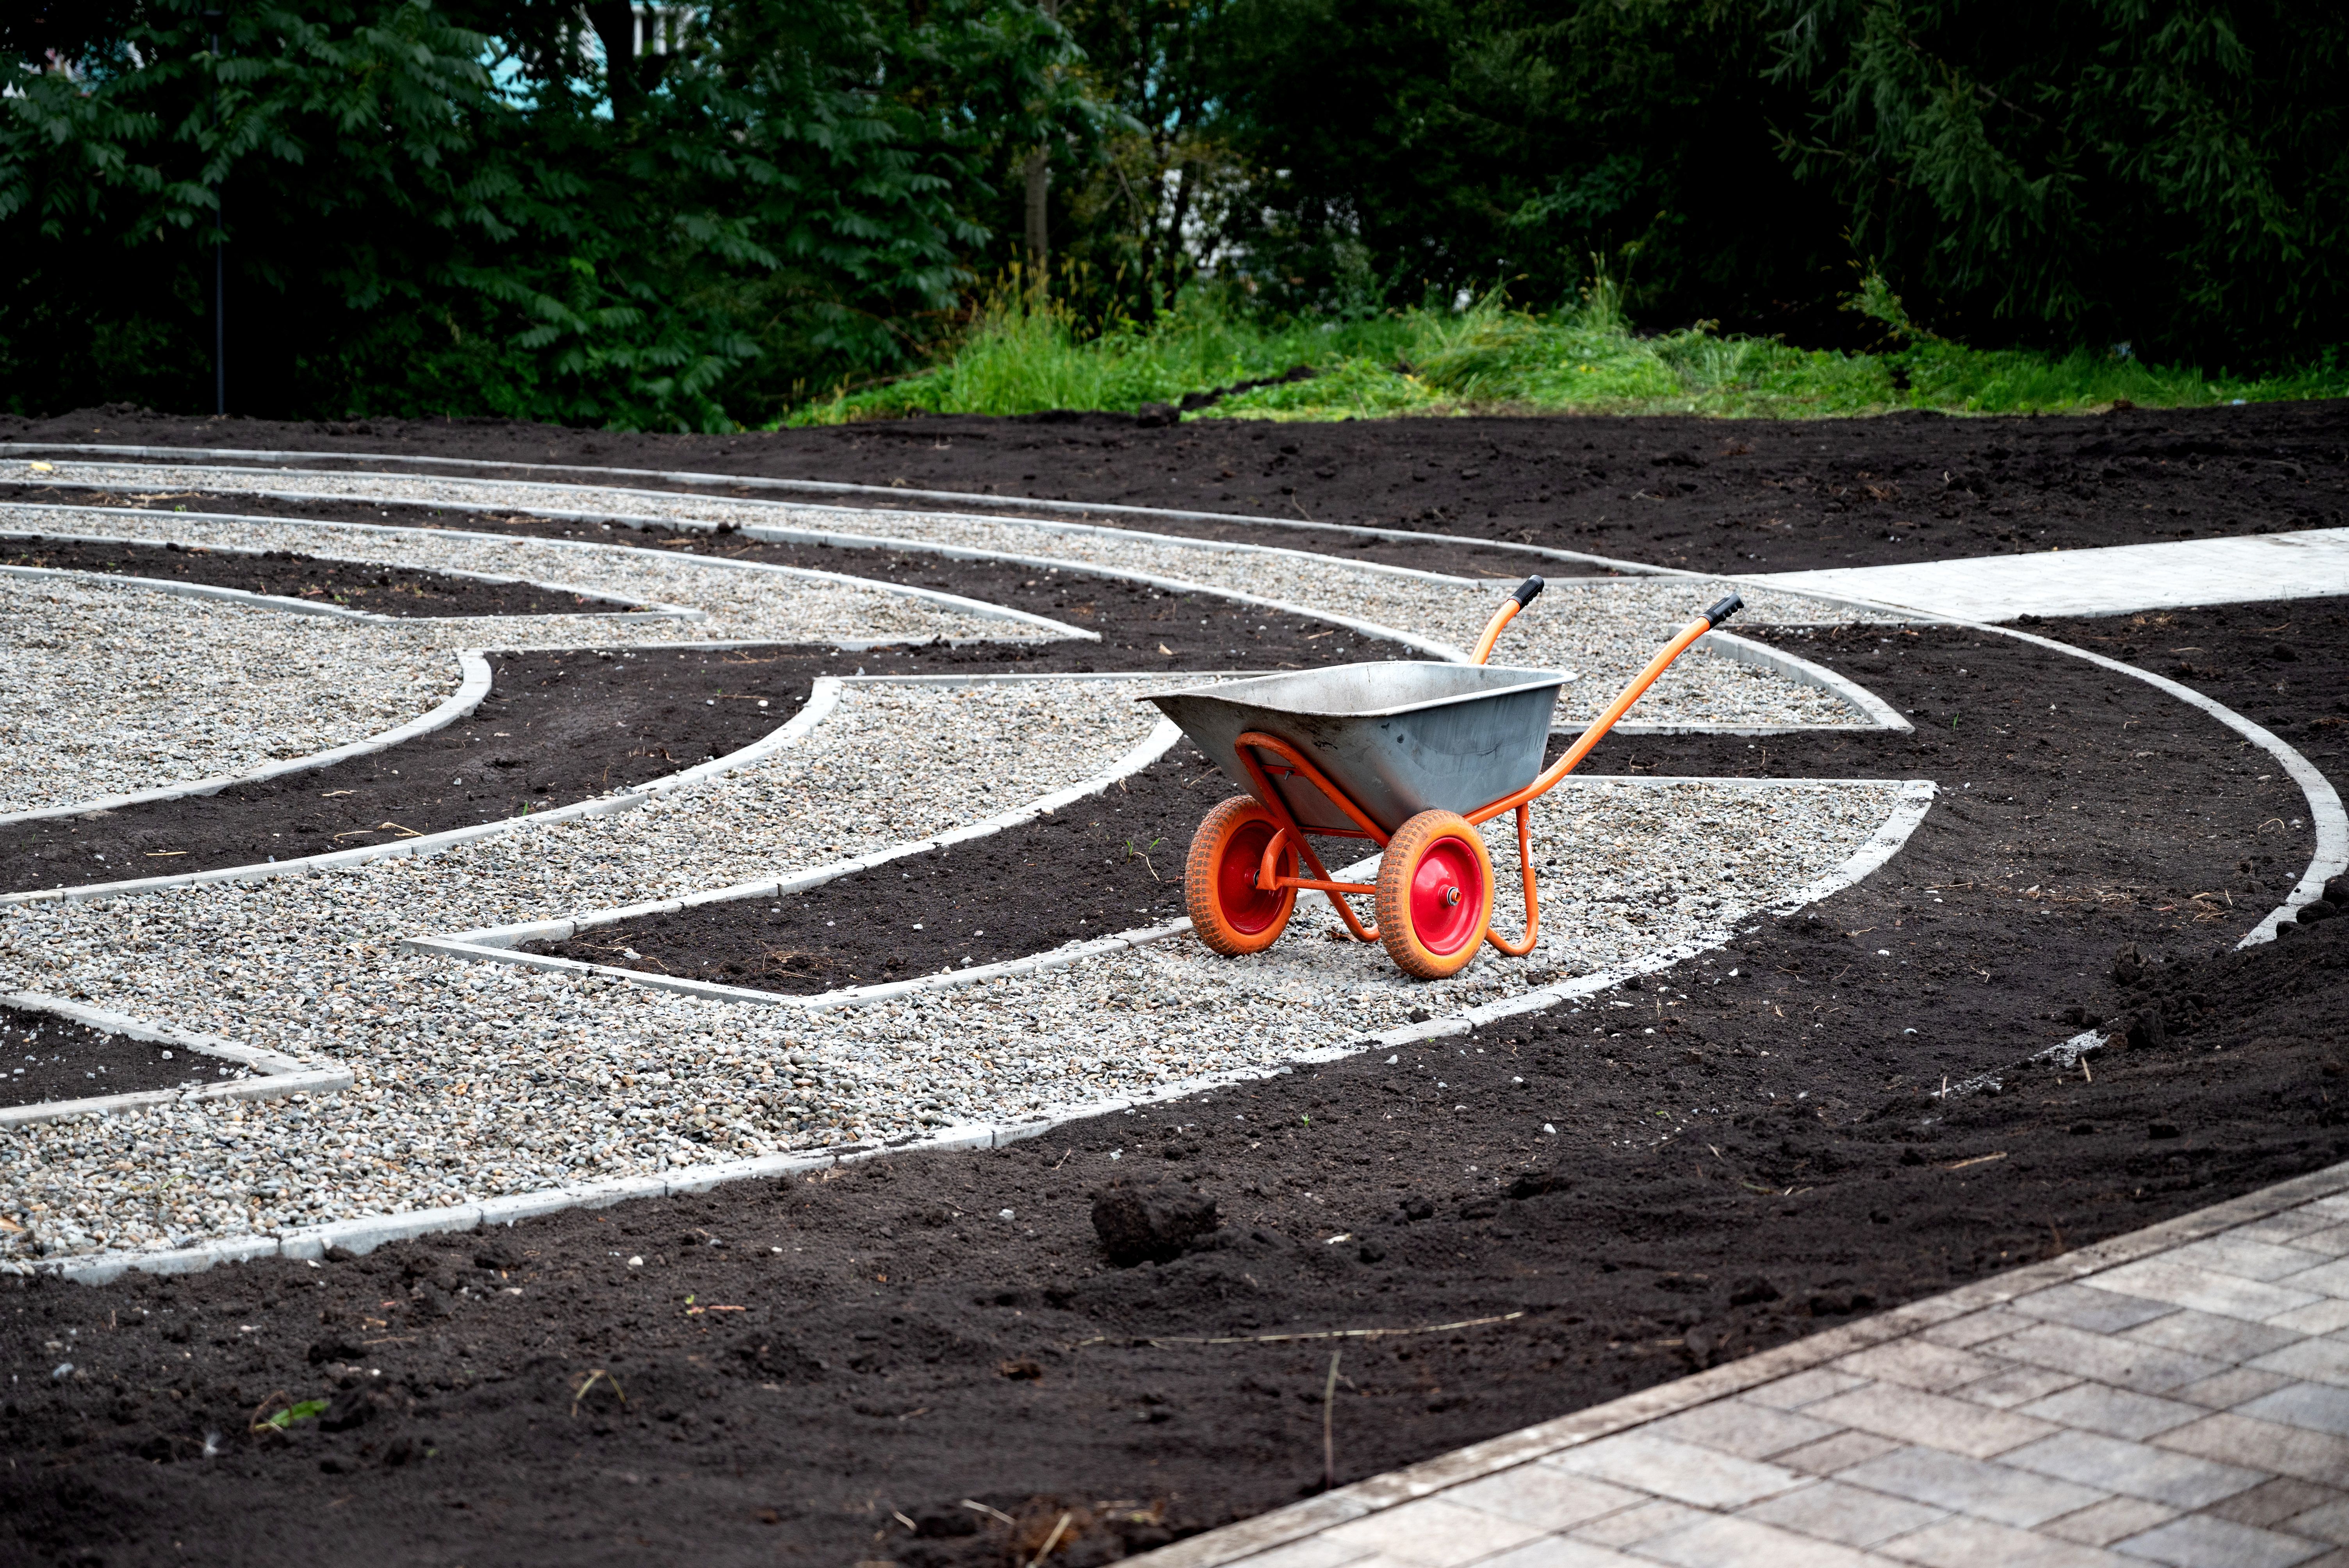
Mark the location of each fence post using stakes and string. This will help you visualize the layout and make any necessary adjustments before digging post holes.
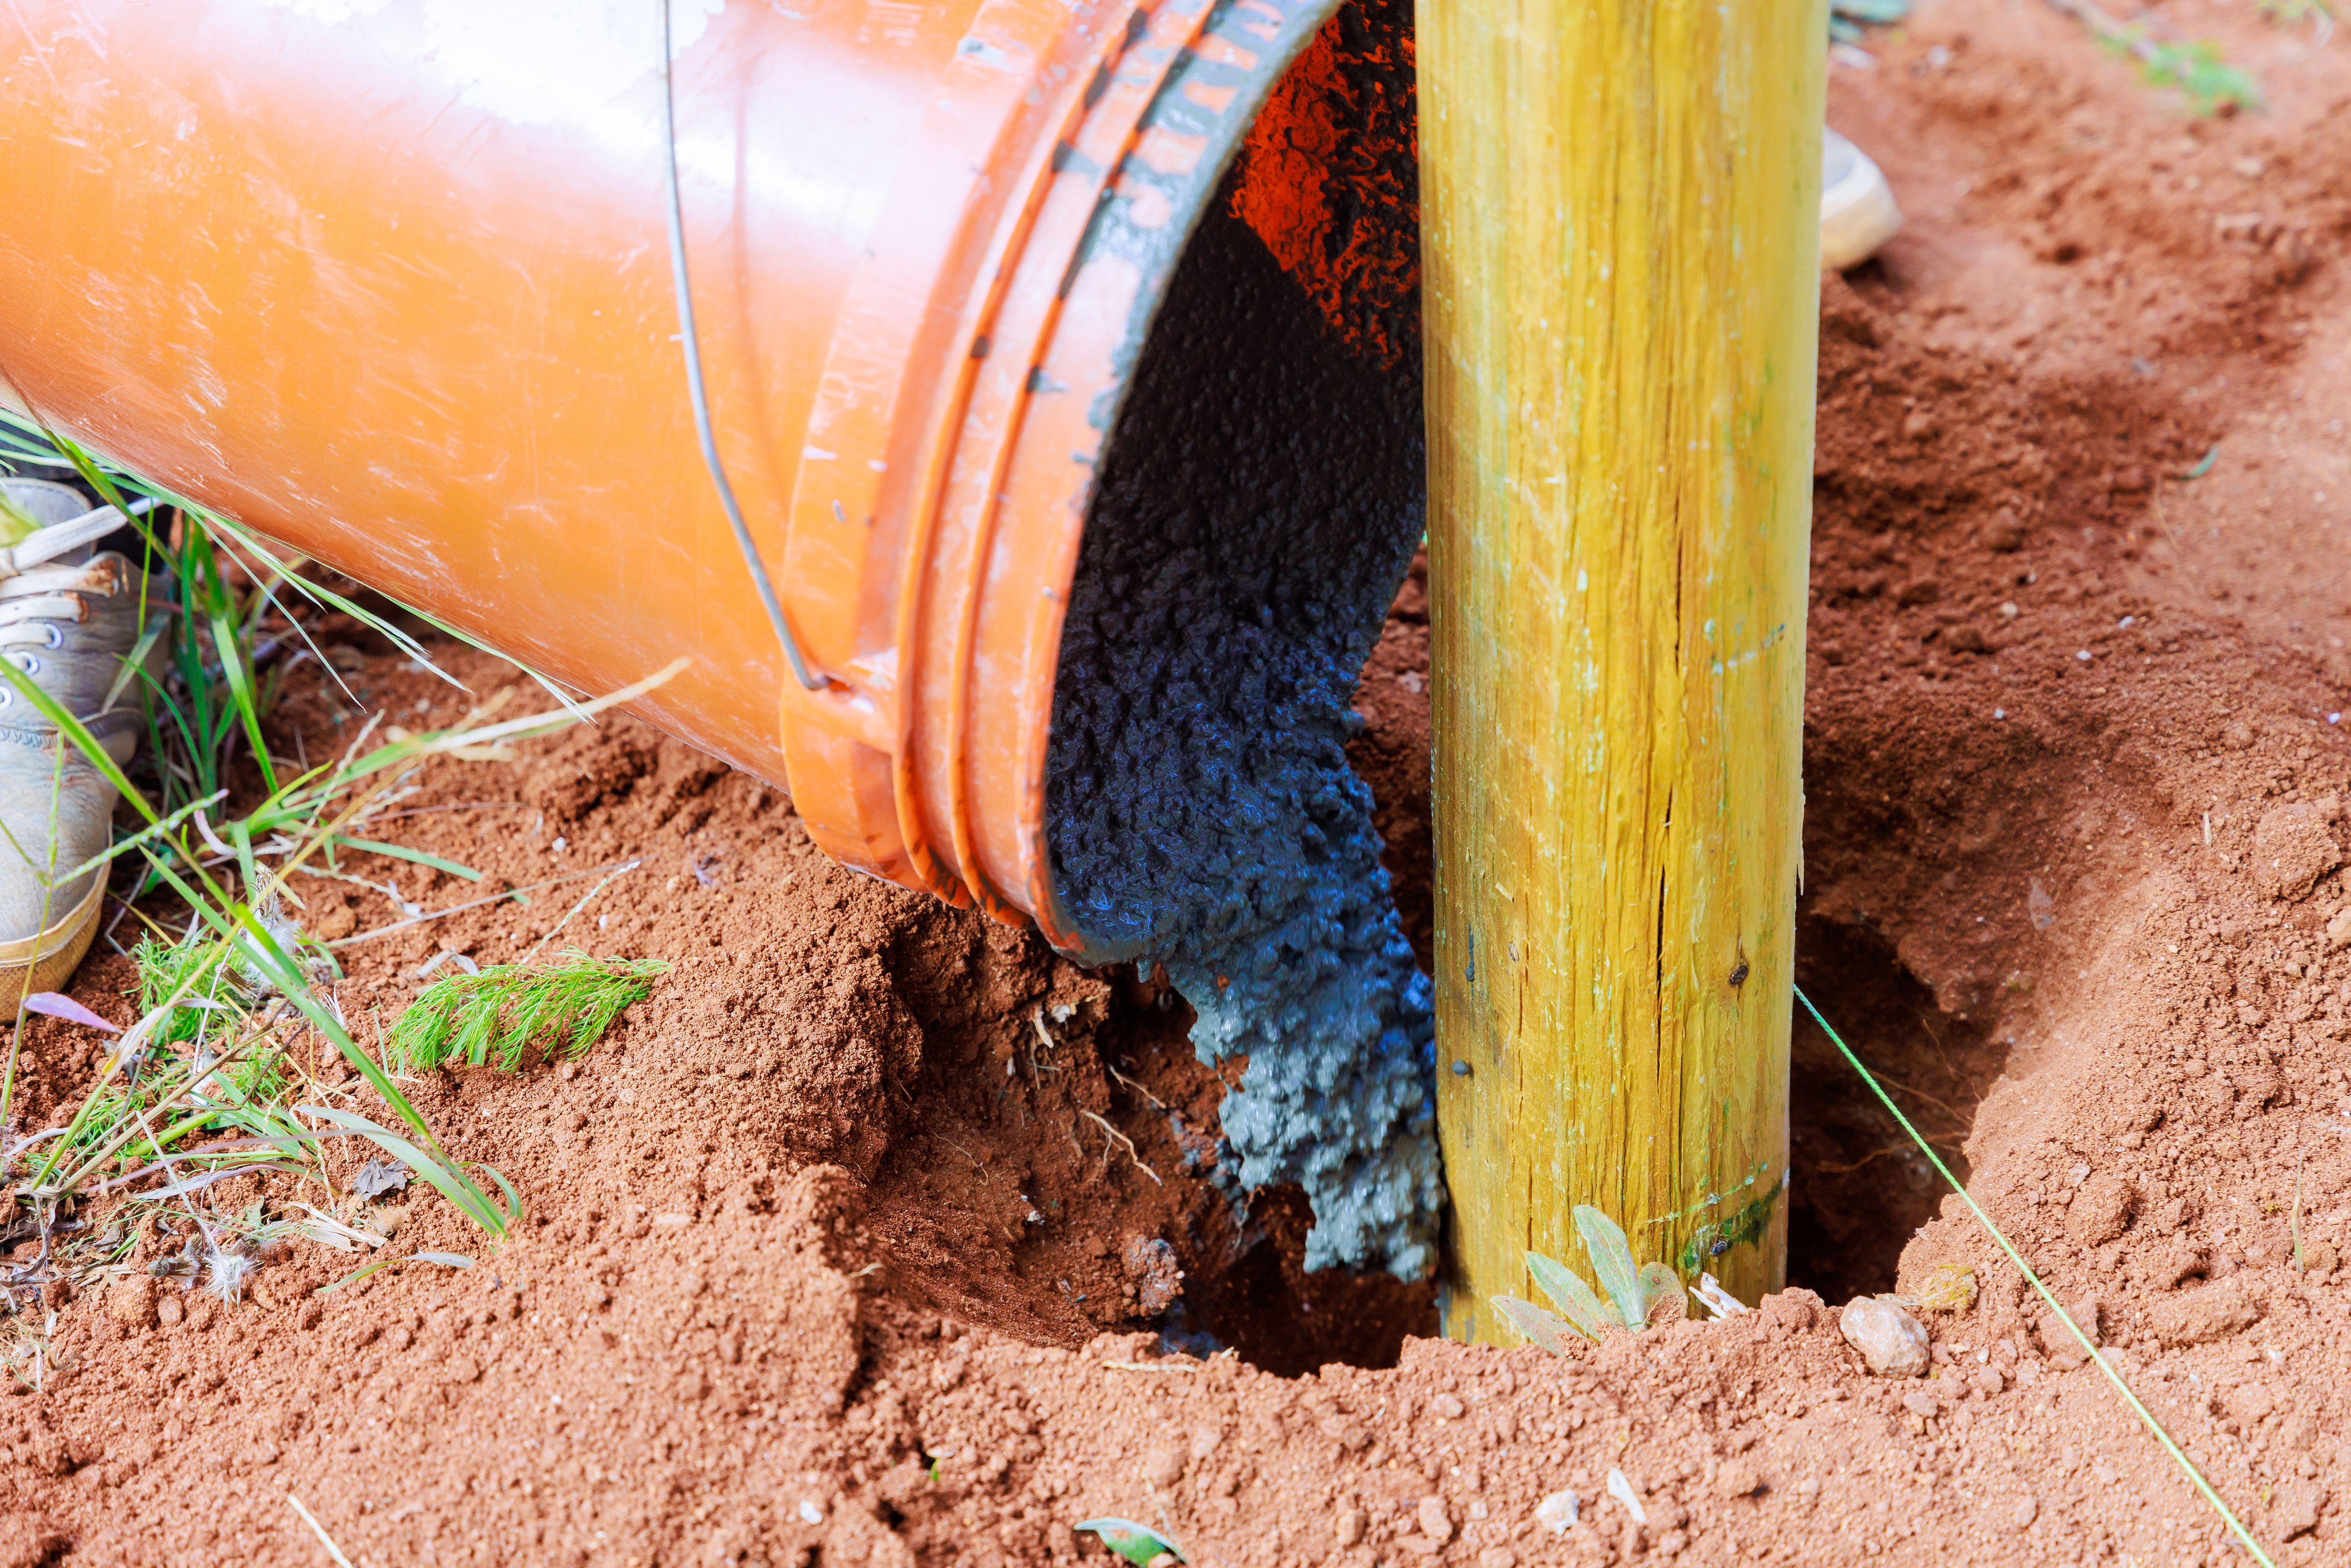
Installing Fence Posts
The foundation of any sturdy fence lies in well-installed posts. Dig post holes to a depth that accounts for one-third of the post's length, ensuring stability and durability. Use concrete to set the posts in place, allowing sufficient time for it to cure before proceeding with the next steps.
Ensure each post is level and aligned correctly to avoid a crooked fence line. Taking extra time during this stage will save you headaches later on.
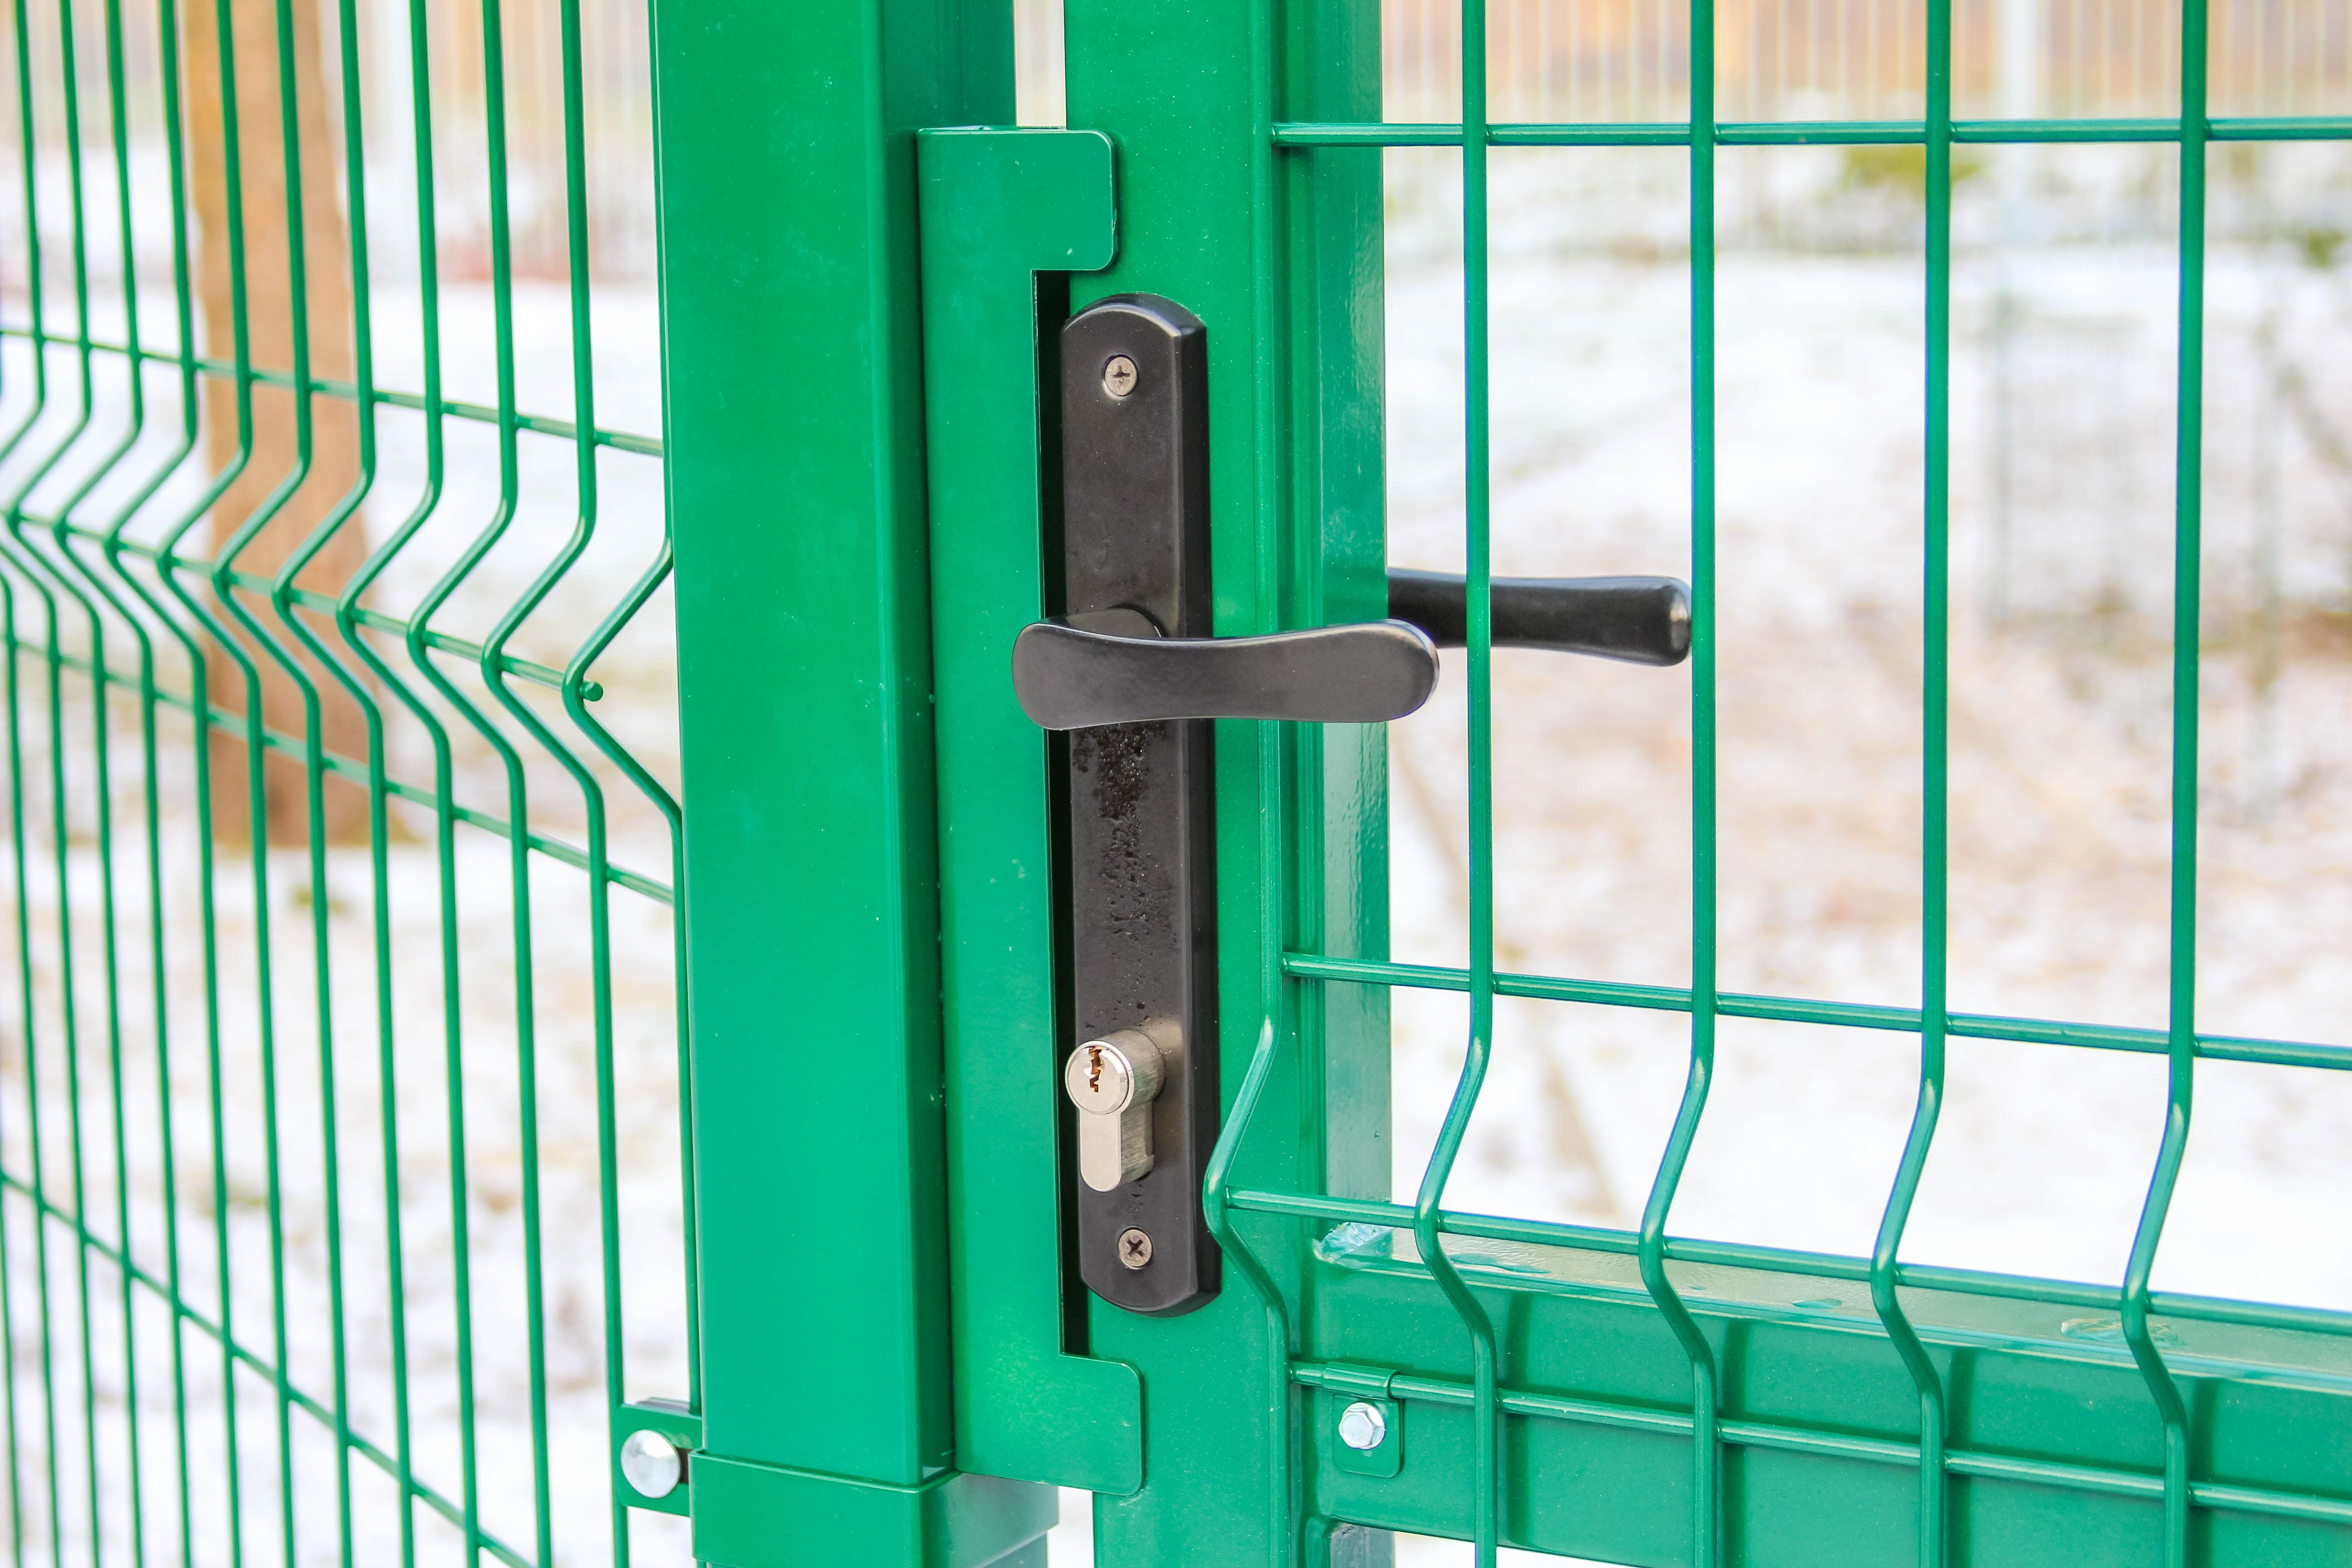
Attaching Fence Panels
Once the posts are secure, it's time to attach the fence panels. Depending on your chosen material, this step may vary slightly. For instance, wooden panels can be nailed or screwed onto the posts, while vinyl panels often use brackets.
Make sure each panel is level and evenly spaced. This not only enhances the visual appeal but also ensures structural integrity.
Finishing Touches
After installing all panels, inspect your fence for any gaps or misalignments. Make necessary adjustments to ensure everything is secure and visually appealing.

If you opted for a wooden fence, consider applying a sealant or stain to protect it from environmental elements. Regular maintenance will prolong the life of your fence and keep it looking great for years to come.
Maintaining Your Fence
Proper maintenance is key to extending the lifespan of your fence. Conduct regular inspections for damage or wear, especially after severe weather conditions common in Bay Saint Louis.
- Wood fences: Reapply stain or sealant every few years.
- Vinyl fences: Clean with mild soap and water to remove dirt buildup.
- Metal fences: Check for rust and apply rust-resistant paint as needed.
By following these tips and conducting regular maintenance, you'll enjoy a beautiful and functional fence that enhances your property's value and curb appeal.